Table of Contents
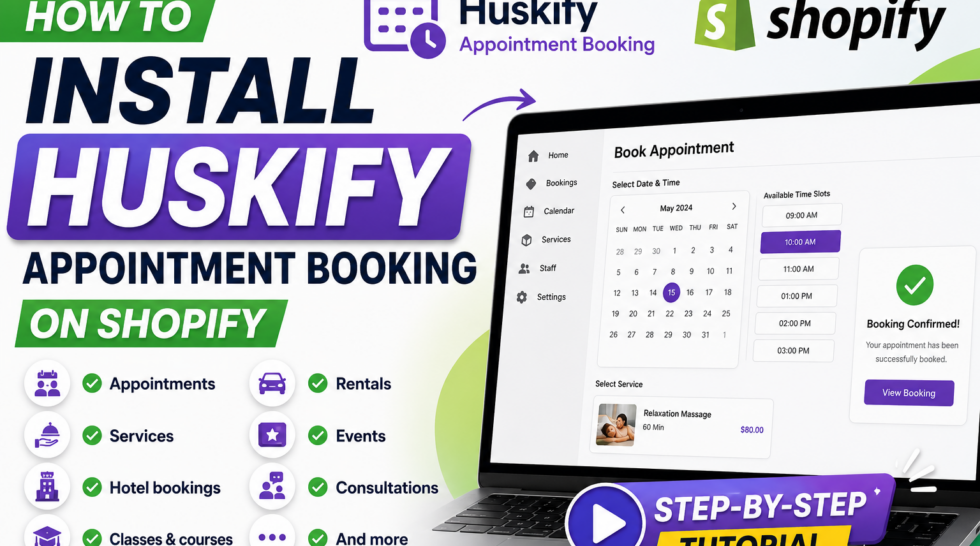
Step 1: Install the App
Install Huskify – Appointment Booking to your Shopify store from the App Store.
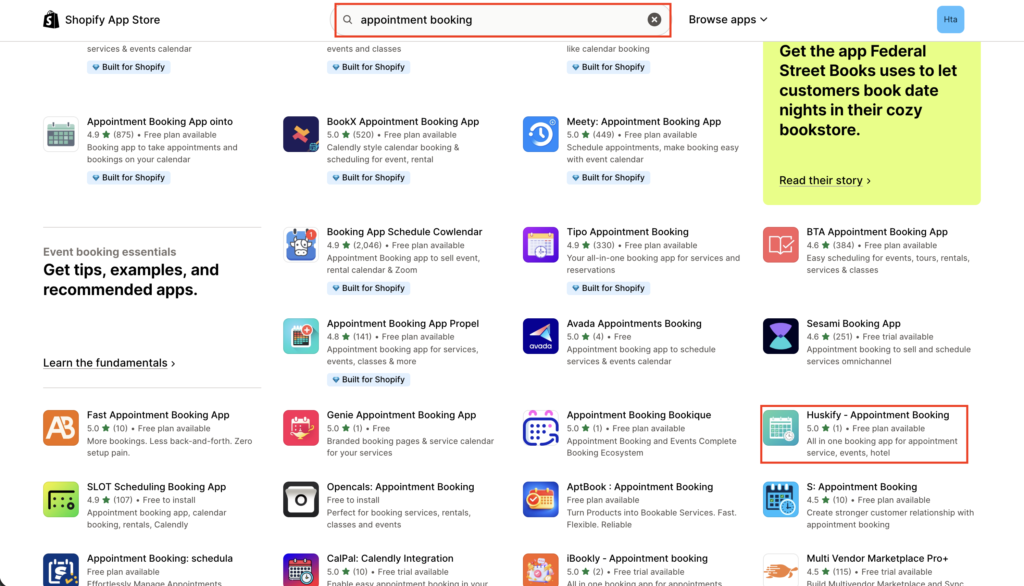
- Find the App: Open the Shopify App Store and search for “Huskify – Appointment Booking“, then click the listing to open it.
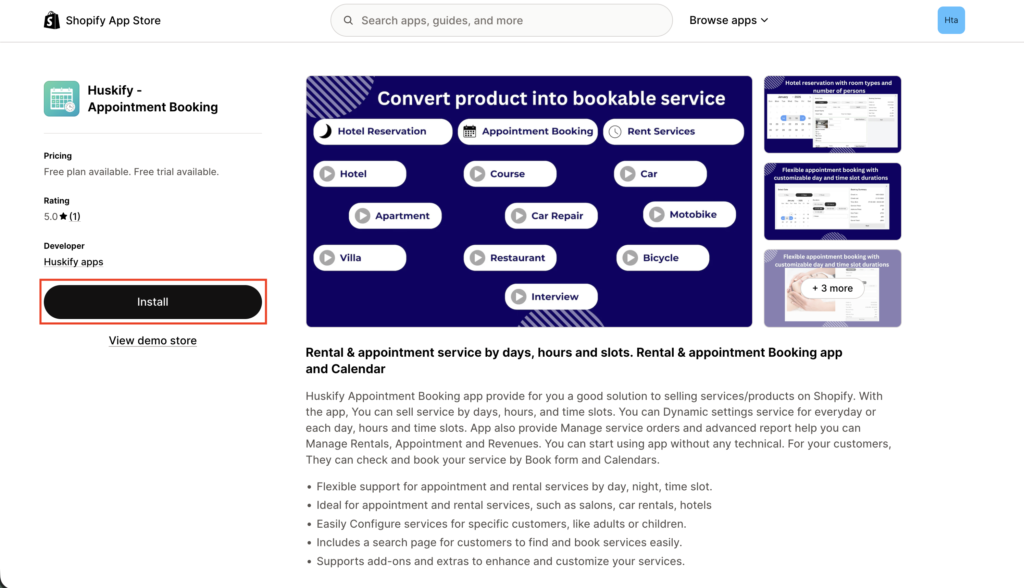
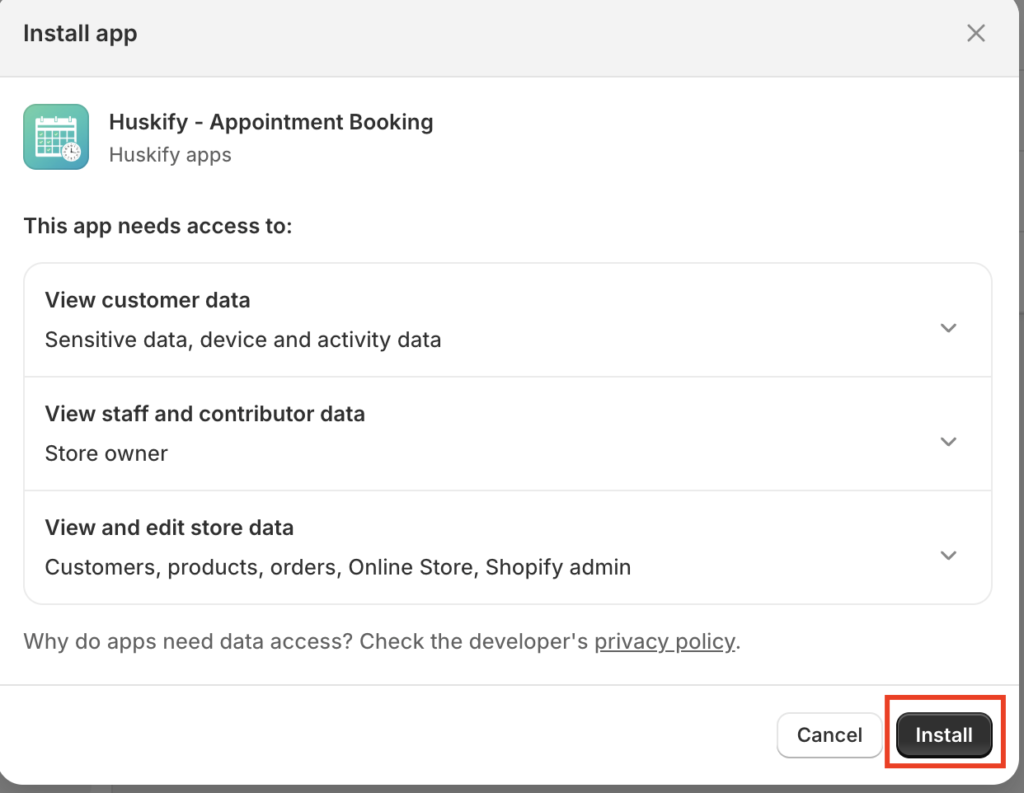
- Review Permissions & Install: Read the requested permissions, then click Install App to grant access.
- Complete Setup: Follow the on-screen prompts. You will be redirected to the Huskify dashboard once installation is complete.
Step 2: Enable App Embed
Activate the embed so Huskify can display correctly in your online storefront.
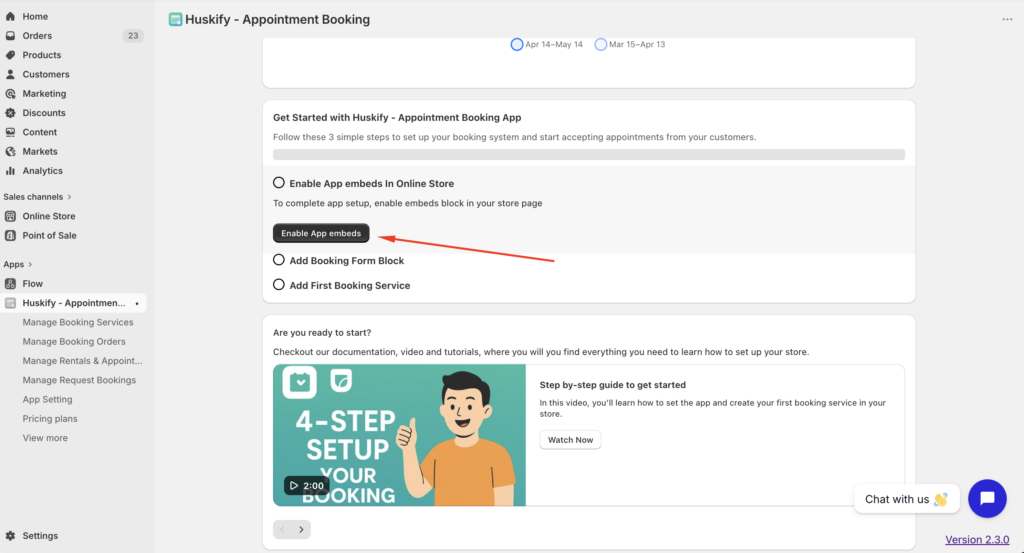
- In the Huskify Dashboard, go to the Get Started section and click Enable App Embeds under Online Store.
- The app embed is activated automatically. You only need to click Save in the Theme Editor to confirm.
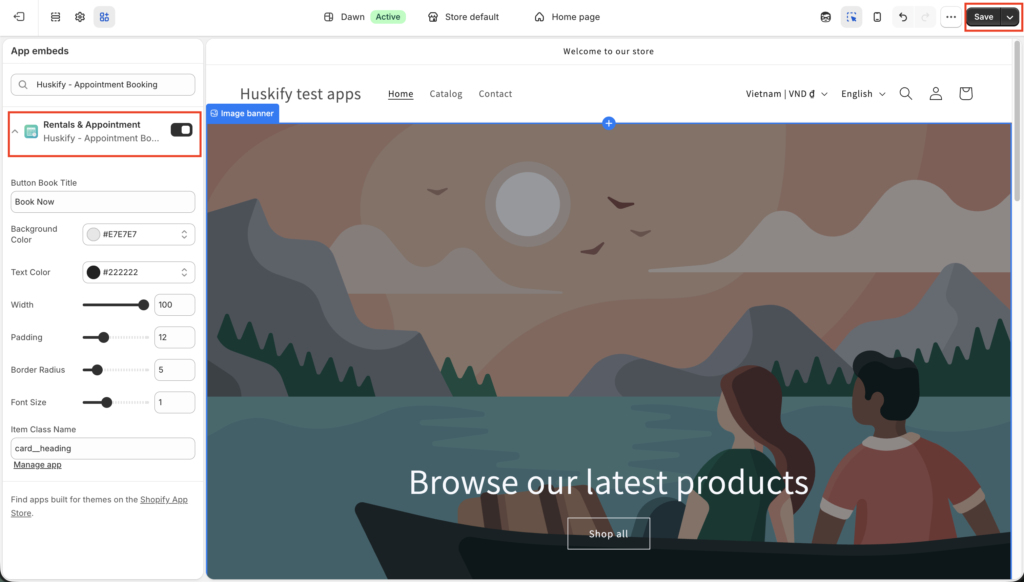
Tip: No manual toggling needed — Huskify handles the embed setup. Just hit Save and move on.
Step 3: Add Booking Form Block
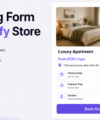
Place the booking form widget on your product pages so customers can book directly.
- In the Huskify Dashboard, go to Add Booking Form Block and click the button. The block will be added to your product template automatically.
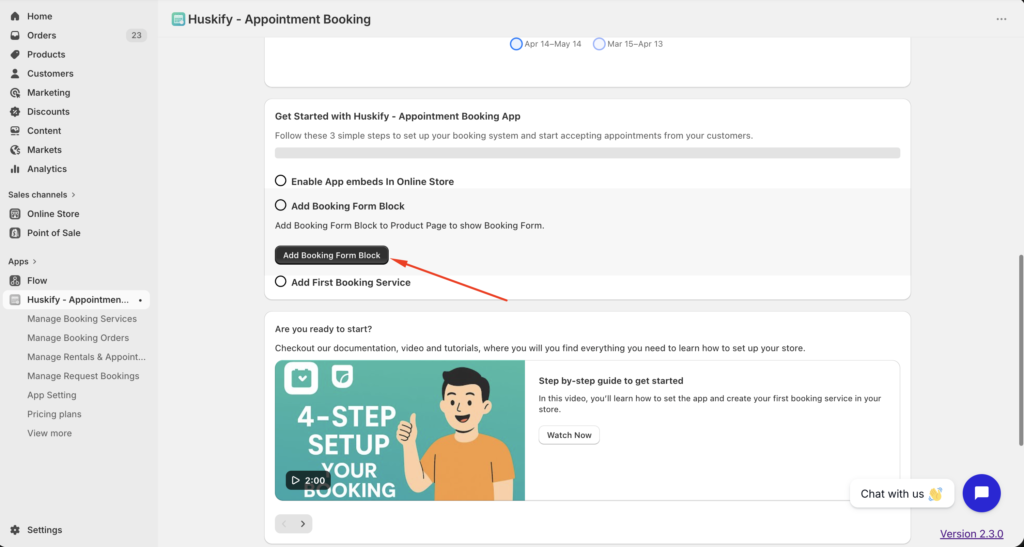
- Drag the block to your preferred position within the product page layout (e.g. above or below the cart button).
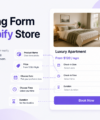
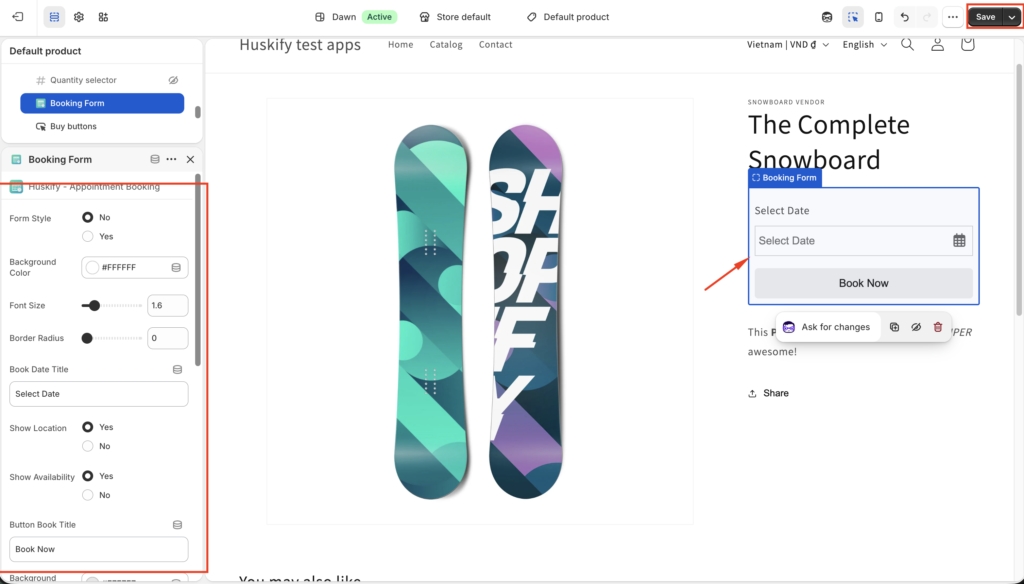
- Customize the button: Change the button text (e.g. “Book Now”), font, color, and style to match your brand.
- Update any other settings as needed, then click Save to publish the block to your storefront.
Step 4: Create a Booking Service Item
Define what customers can book, configure availability, and set pricing rules.
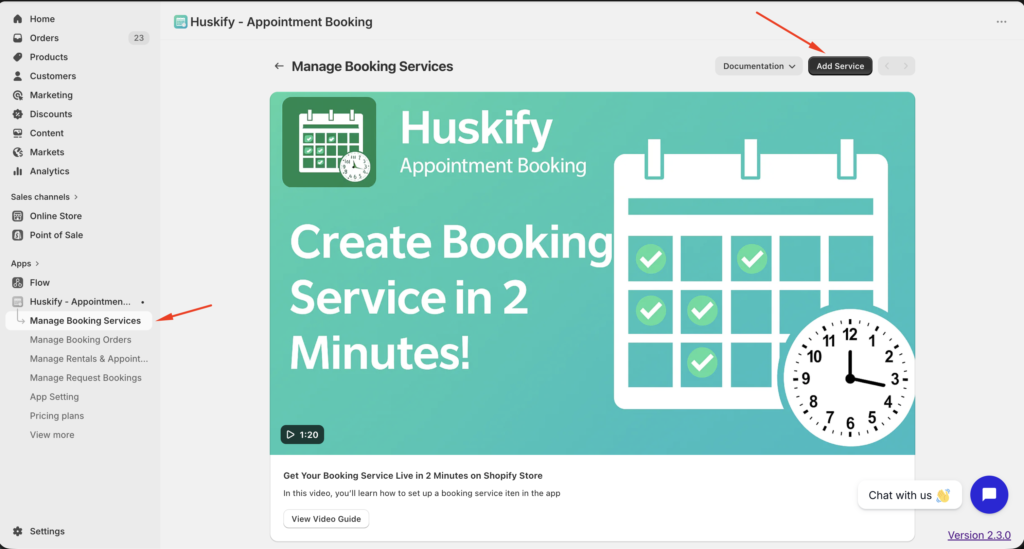
- Go to Manage Booking Services in the dashboard, then click + Add Service to start.
- Select a product from your Shopify product list to link to this service, then click Continue.
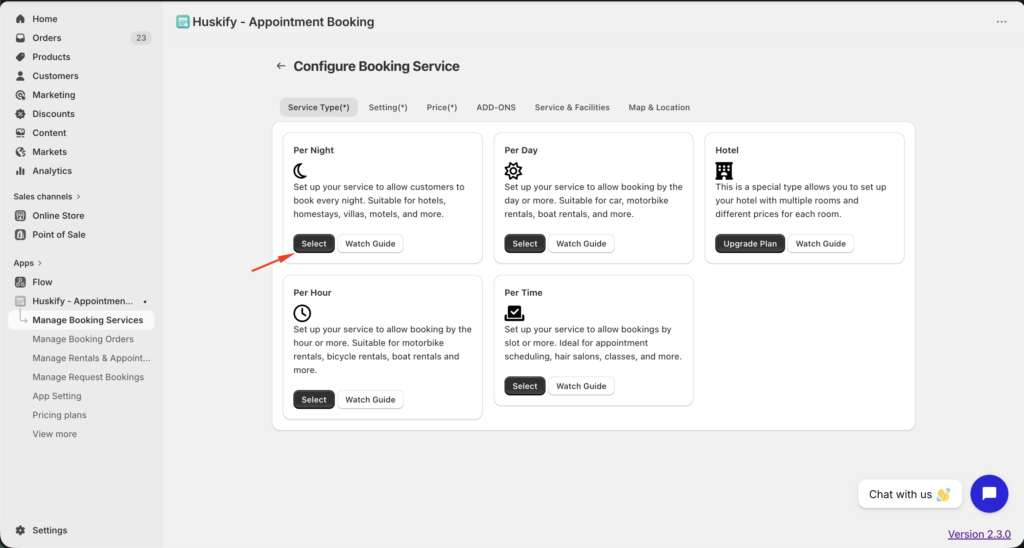
- Choose your Booking Type: Select how the service is measured — for example, Per Night, Per Hour, or Per Day.
- In the Settings tab, configure key options such as Availability Days, Branch, Location, and Deposit requirements.
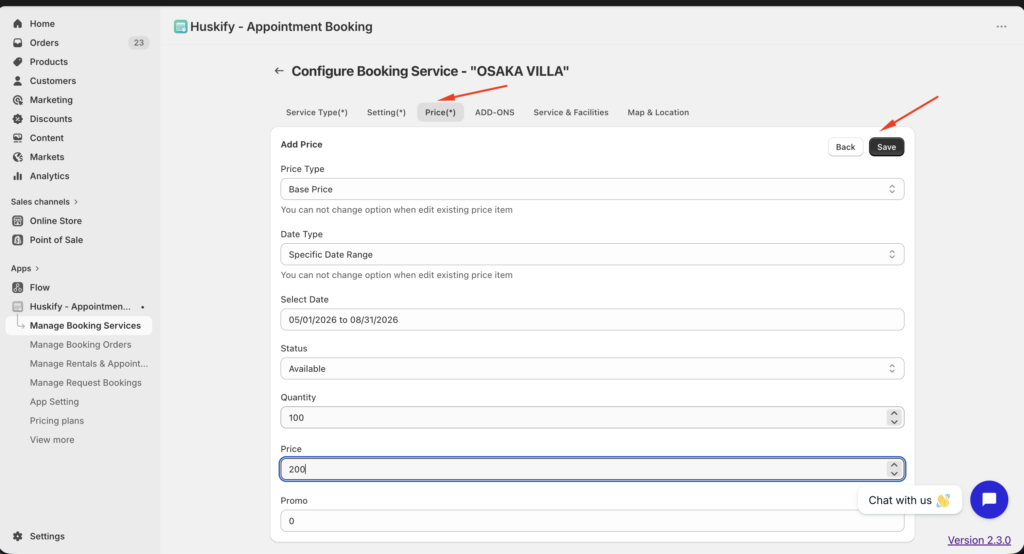
- Go to the Price tab → click + Add New Price → enter the Date Range, Quantity, and Price.
- Click Save to store the service configuration.
Step 5: Preview the Booking Experience
Test the full booking flow exactly as your customers will see it.
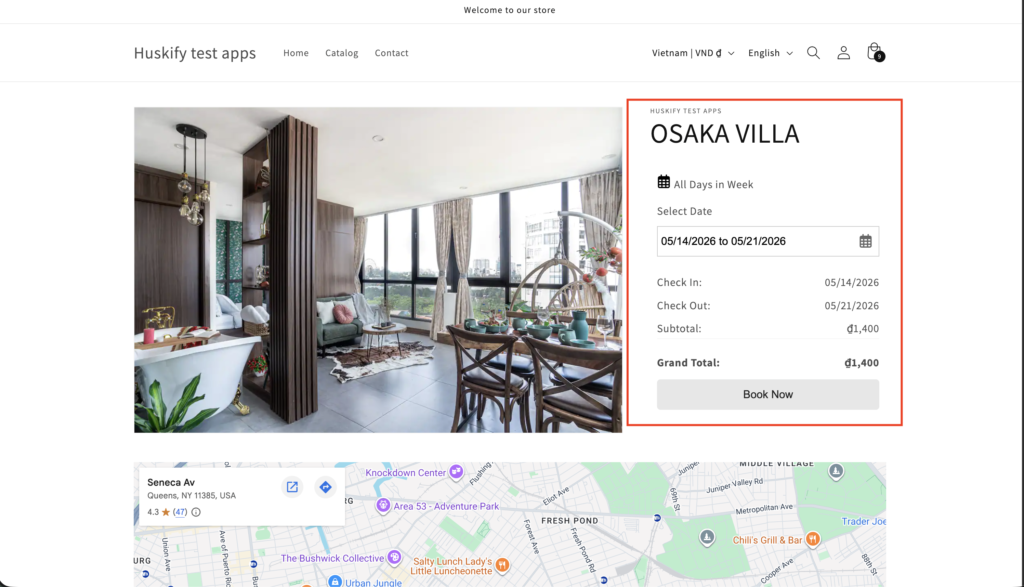
- Return to the Settings tab of your service and click Preview Booking in Storefront to open a live preview.
- Select a date from the calendar picker, then click Book Now to walk through the complete customer booking flow.
- You’re all set! Huskify is now fully configured. Customers can book services directly from your product pages.
Thank you for reading , You can check more features in our app on link.