How to Configure Gmail SMTP in a Shopify App
Sending emails is an essential feature for many Shopify apps, such as booking apps, request-a-quote apps, order notifications, or customer confirmations. One of the easiest and most reliable ways to send emails from your Shopify app is by using Gmail SMTP.
In this guide, we’ll walk you through why Gmail SMTP is useful and how to configure it step-by-step.
Why Choose Gmail SMTP for Sending Email in a Shopify App?
Using Gmail SMTP to send emails from your Shopify app offers several advantages:
1. Reliable Email Delivery
Gmail has a strong email infrastructure, which helps ensure your emails are delivered successfully instead of ending up in spam folders.
2. Easy to Set Up
Most merchants already have a Gmail or Google Workspace account, so configuration is quick and simple.
3. Secure Authentication
Google provides secure authentication methods such as 2-Step Verification and App Passwords, making it safer to connect with your Shopify app.
4. Cost Effective
For many small businesses and Shopify merchants, Gmail SMTP works perfectly without needing a paid email service.
Why Use a Free Gmail SMTP Server?
A free Gmail SMTP server is a great choice, especially for small Shopify stores or apps that don’t send extremely large volumes of emails.
Benefits include:
- No additional cost for email services
- Quick integration with your Shopify app
- Trusted infrastructure from Google
- Good delivery rate for transactional emails
However, if your app sends a very high number of emails daily, you may later consider services like dedicated email providers.
How to Configure Gmail SMTP
Before connecting Gmail to your Shopify app, you need to enable security features and generate an App Password. Follow the steps below.
Step 1: Accessing Your Google Account
First, log in to the Gmail account that will be used to send emails.
1.1 Log in to your Google account
Go to the Google login page and enter your email address, then click Next.

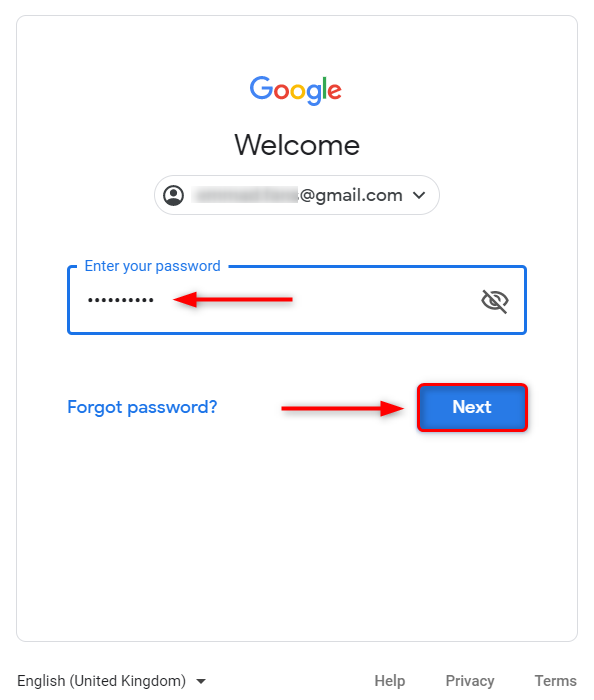
1.2 Enter your password
Input your account password, then click Next to access your account dashboard.
Step 2: Enabling 2-Step Verification
To use Gmail SMTP with external applications such as a Shopify app, 2-Step Verification must be enabled.
2.1 Log in to your Google account
Access your Google account settings.
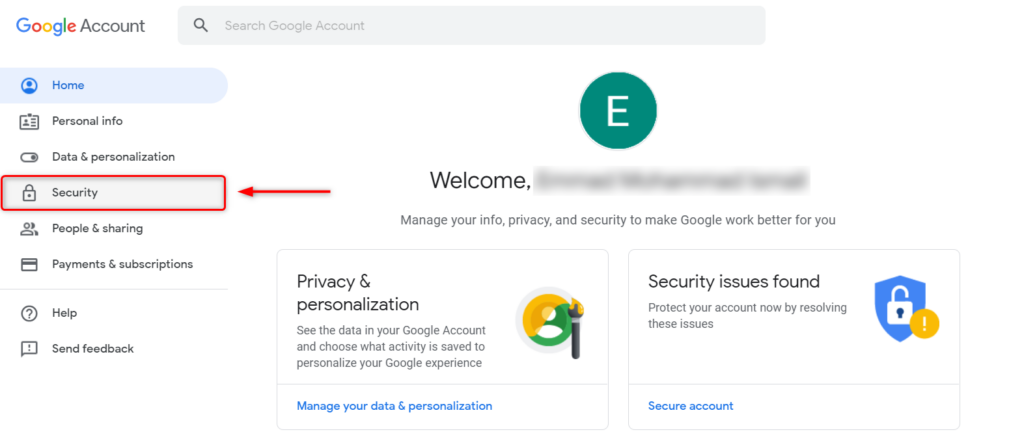
2.2 Go to Security settings
From the left navigation menu, click Security.
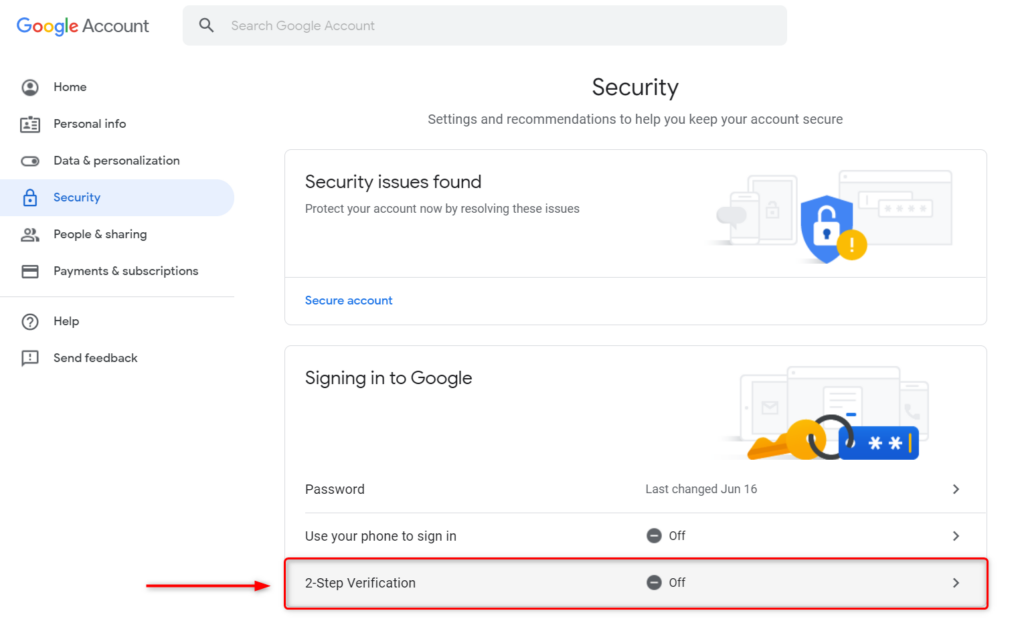
2.3 Enable 2-Step Verification
Find 2-Step Verification and follow the instructions to activate it. This typically requires verifying your phone number.
Once enabled, your account will have an additional layer of security.
Step 3: Generating an App Password
After enabling 2-Step Verification, you need to generate an App Password. This password will be used by your Shopify app to authenticate with Gmail SMTP.
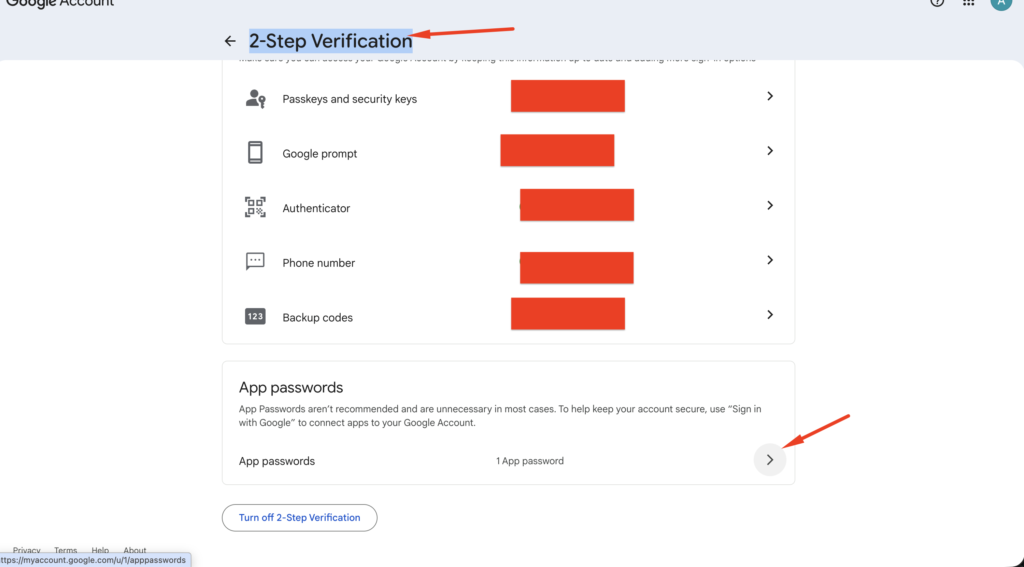
3.1 Click to 2-Step Verification to go to page 2-Step Verification and then click to App password Section.
3.2 Enter app name and Click to Create Button
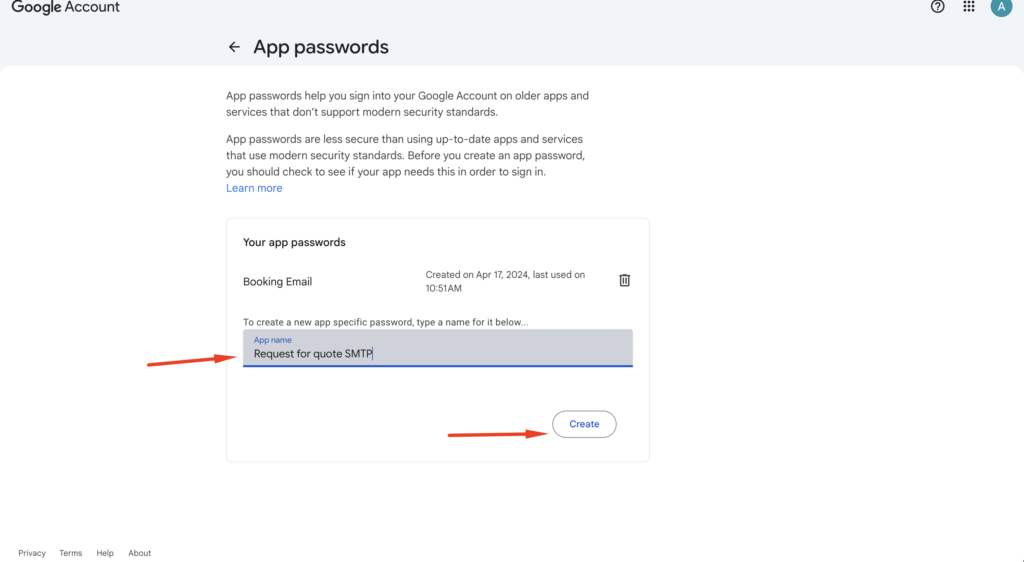
Google will generate a 16-character App Password.

Important:
Save this password securely because you will need it when configuring SMTP settings in your Shopify app.
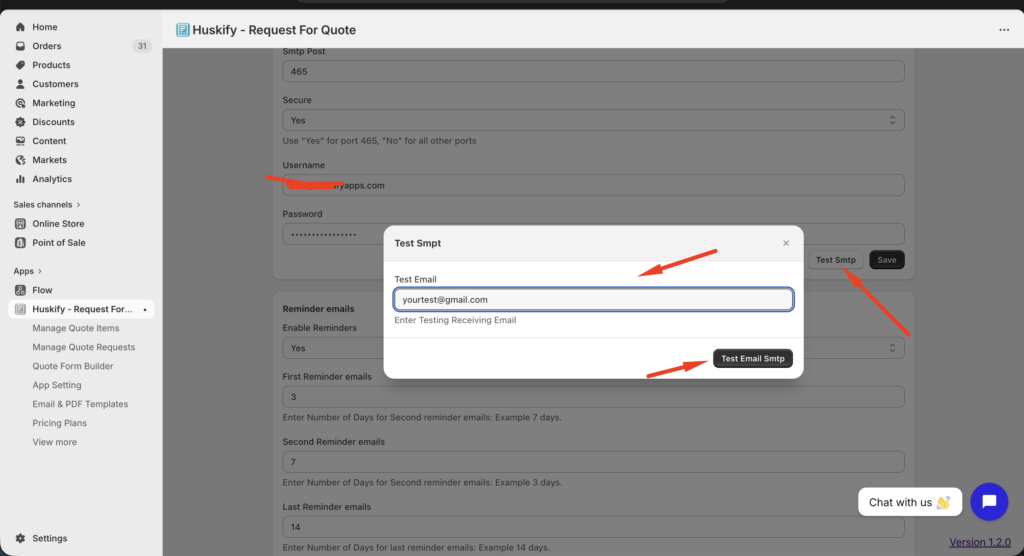
Step 4: Configure Gmail SMTP in Your Shopify App
Once you have the App Password, enter the SMTP configuration in your Shopify app.
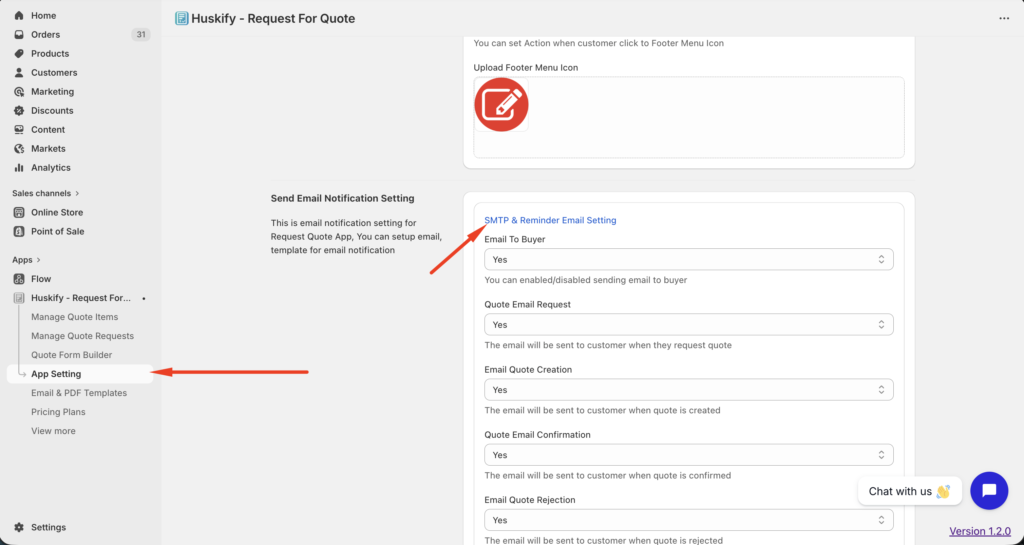
Example: You can configure SMPT for Shopify Request for Quote app.
Go To App Setting => SMTP Setting
Typical Gmail SMTP settings:
- SMTP Host:
smtp.gmail.com - SMTP Port:
465 - Secure: Yes
- SMTP Username: Your Gmail address
- SMTP Password: The App Password generated earlier
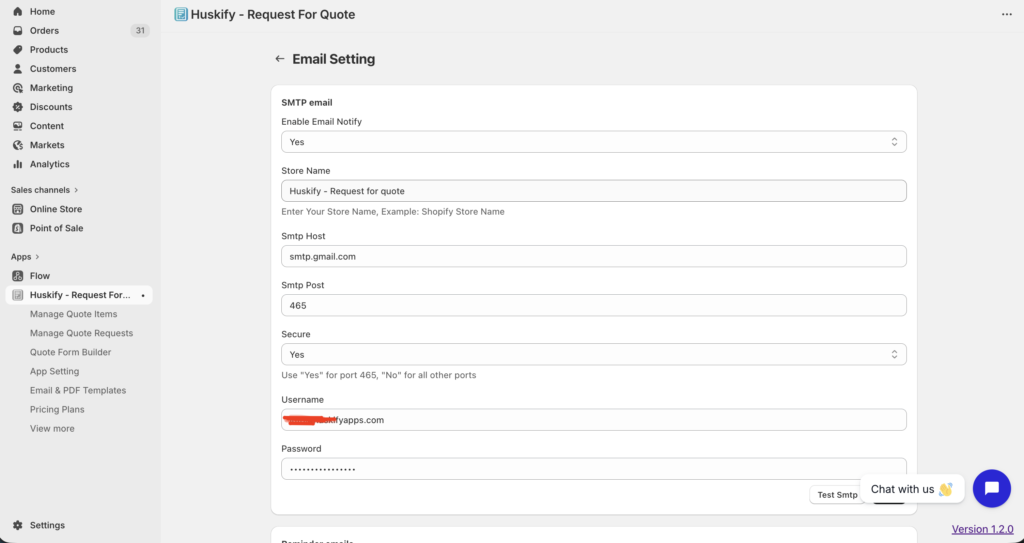
You can Click To Test SMTP => enter your email and test.
Final Thoughts
Configuring Gmail SMTP in your Shopify app is a simple and effective way to send transactional emails such as booking confirmations, quote requests, notifications, and more.
By enabling 2-Step Verification and using an App Password, you can securely integrate Gmail with your Shopify app and ensure reliable email delivery.